

One of the gardens I have neglected to tell you about is our Herb Garden, which occupies a raised bed across one end of Veggie Garden 1. I think this is the 3rd year since I added herbs to the plants we grow, and I have to say it is one of my favorite sections of the garden. Not only is has it been useful, it is pretty too. And its a good value, considering a very tiny jar of dried herbs/seasonings can cost 4 or 5 dollars or even more when you buy them at the grocery store, and fresh--well how fresh could they be? But, a whole plant usually costs less than that, and then I can dry enough to fill several pint jars of our favorites out of the garden each year, plus have all the fresh herbs we want to use from spring through late fall.
 |
| Herb garden in early spring |
Early in the spring, I cleaned out a few weeds, scratched up the soil, mixed in some manure and trimmed the few plants that survived the winter and were ready grow. Those that came back from the previous year included: chives, sage, thyme, oregano, and lavender. Others that do not survive our winters are, basil, parsley, rosemary, cilantro, and tarragon.
I started herbs from seed as well, just to see how they would do and to have lots to share. Most grew pretty well. Here you can see baby dill (below left) and baby thyme (below right). The basil grew sort of weird, with lumps on the leaves, and had a strange smell, so I ended up purchasing a couple plants after all.


After initially prepping the soil, trimming the existing plants and adding in the new ones, there was very little to do with this portion of the garden. The herbs seem to do best when left alone! So I let them have a bit of water when the sprinklers are on, and let them grow.
 |
| Lavender |
When it comes to picking and using the herbs, you can really cut some to use fresh at any time when the plants are big enough, have established roots, and will survive the cutting. Herbs, like a lot of other plants will actually flourish, and have more growth after a good trimming anyways, so don't be afraid to cut and use pieces of fresh herb often.
 |
| washed Sweet Basil leaves |
There are several options for the actual drying process:
1. Collect the herbs into small bunches. Tie the stems, and hang the bundles upside down in a dry, dark, airy place until thoroughly dry. This is supposed to be the best way to preserve the most oil in the foliage, giving best flavor and fragrance when dry. I do not really have a place to hang herbs so I do not use this option.
2. Place stems of herbs in a single layer across a wire cooling rack on a cookie sheet. Place in the oven set to lowest temperature possible, and leave the door ajar to release moisture. I have done this with all kinds of herbs with success for a few years. The downsides include: takes a long time, heats up the house, have to keep a close eye on it, and cannot do very much at a time.
3. Food Dehydrator Option: This past Christmas I received as a gift something that has been on my wish list for quite a long time--an electric food dehydrator. It is from Harbor Freight, and is not one of those super duper really expensive ones, but it is sufficient with 5 trays and a lid with vents. It uses a low powered heating coil in the bottom; heat and moisture from the food rise and escape out of the lid.
 I have been using it all summer to dry several harvests of herbs. The first time around with Parsley, for example, I washed, towel dried, picked the leaves off the stems and piled them onto each of the 5 trays--it took about 5 hours to completely dry with the trays really packed full, but the color stayed beautiful green and the smell and taste seem to be great! The full dehydrator yielded a packed pint jar of dried parsley. With subsequent batches, I tried to allow more air flow by not filling the trays so full, and the processes was much quicker, reducing the drying time by a couple hours. Different types of herbs however will take varying amounts of time. I picked off and only dry the leaves of the parsley, basil and sage, but for herbs like thyme, rosemary and oregano (small leaves) I place whole sprigs on the trays and simply strip the leaves off the stem after drying.
  |
| sprigs of Thyme in the dehydrator |
Oh, almost forgot, I do the chives by the oven method because I like to snip them with scissors and dry in little bits which would fall through the trays of the dehydrator.
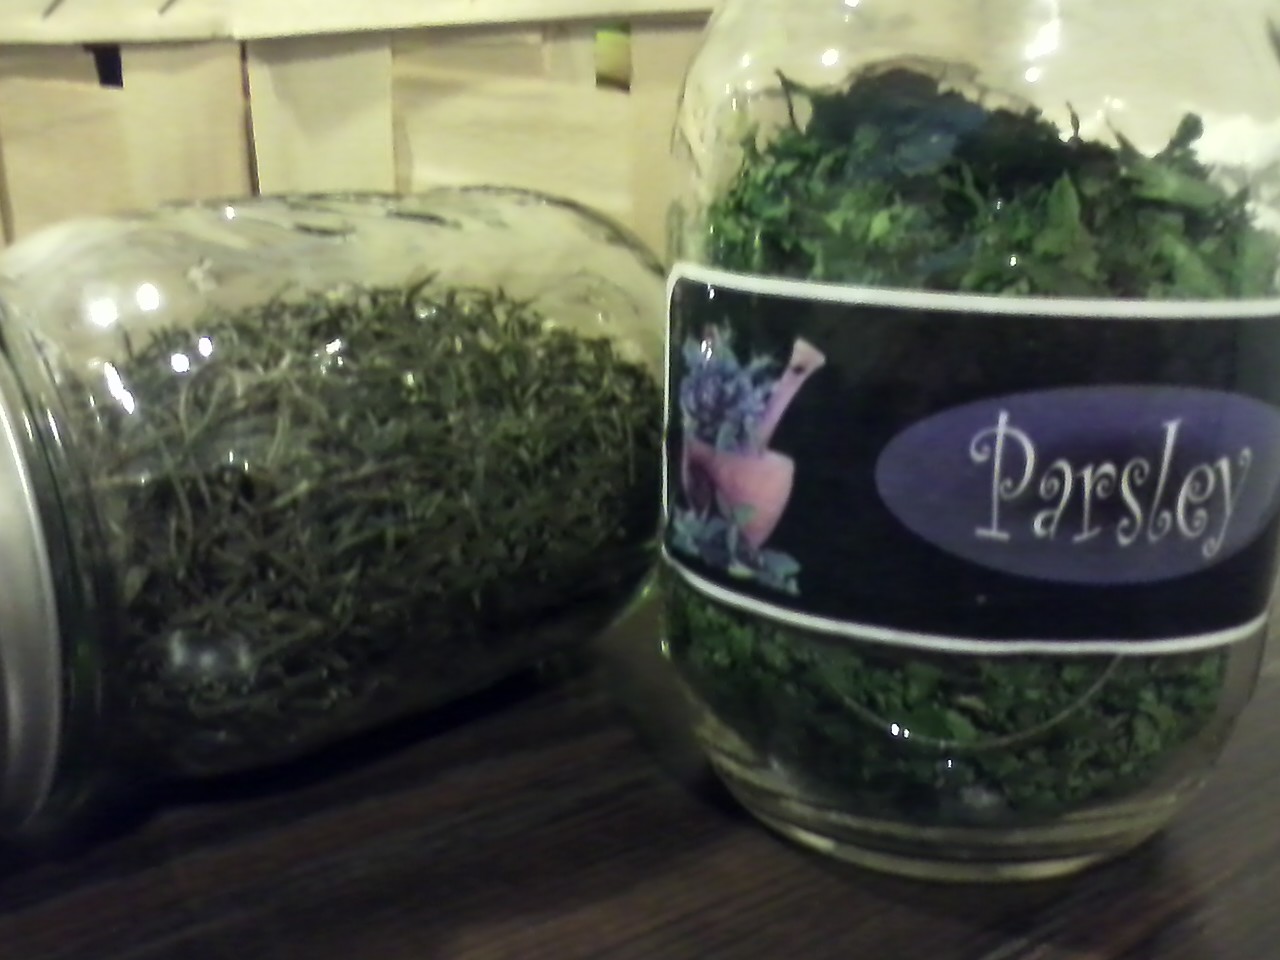
Once the herbs are thoroughly dry, they may be stored in an air tight container. I use pint-sized canning jars, and add cute homemade labels too.
Such an easy, fun, and money saving section of our landscape!
Fresh herbs are the best. I love fresh basil, have a plant I have tried to keep going all year inside but it finally passed on me this year. Also have cilantro and chive in the freezer, do not use it much but had to save what was grown outside my apartment in a pot.
ReplyDeleteThis is a wonderful blog and am glad to read all your tips and wonderful ideas. Have you tried making apple butter? Mine tastes just like the Amish lady I used to buy from whose is wonderful, and this was first time I tried making it.
I have butternut squash and pumpkin (from a pie pumpkin)in my freezer that I cooked down to goo for soup this winter. Yum! Also have zucchini soup, which was a first for me, that is wonderful.
I am so looking forward to future posts!
Hi Kathy, I have not tried making apple butter yet--I don't really know why it's not one of my favorites, maybe it would be if I made it?! haha I am however in the process of making and canning applesauce, which I LOVE! Maybe a post about that later on...
ReplyDeleteGlad you like my blog! You should check out my brother's blog at http://jonofalltrades.blogspot.com/ He has gotten in to making video blogs now, and is very entertaining!
Maybe the not caring for apple butter is because of the cloves in it; it can be done without and without the tone of sugar some put in it. My sister Emily makes some of the best applesauce I have ever had.
ReplyDeleteI have checked out his blog, yes he is very entertaining!
Ummm with the weather we've been having heating up the house is a good thing :-)
ReplyDelete